DIY: Pallet Party Backdrop
09/09/2013
.
This is the easiest DIY, ever!
The pallet was used for my daughter’s birthday Sweets Corner — just 10 DIY steps.
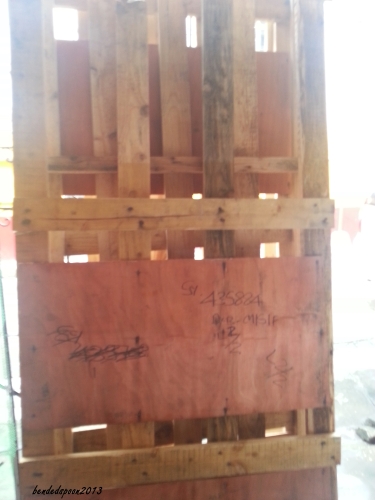
First, you need a pallet — of course!
Good if you can buy at bargain price.
Better if given to you free.
Best if someone sent you goodies — in a pallet crate!
.
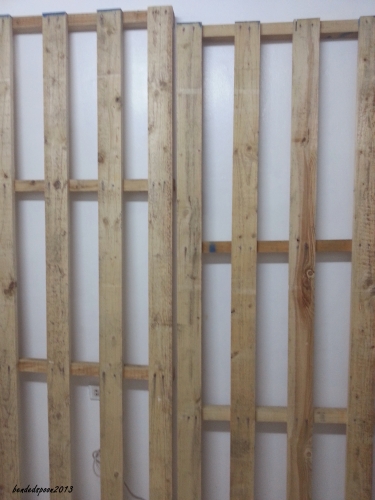
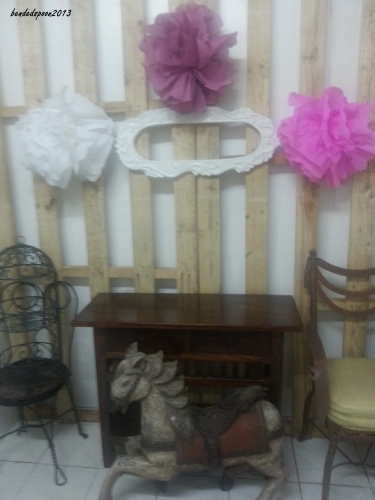
Second, lean it on the wall — that easy!
Between 1st and 2nd, remove the parts you do not want — like boards and nails.
Use hammer please!
.
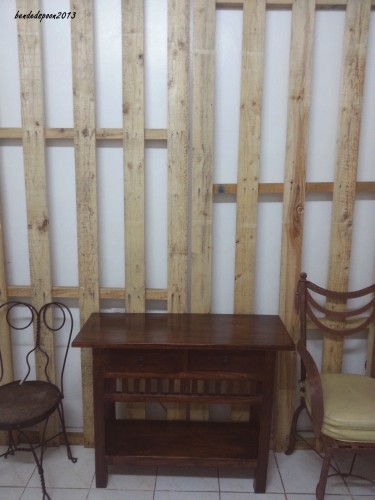
Third, add table and chairs.
Mine were vintage and junky!
.
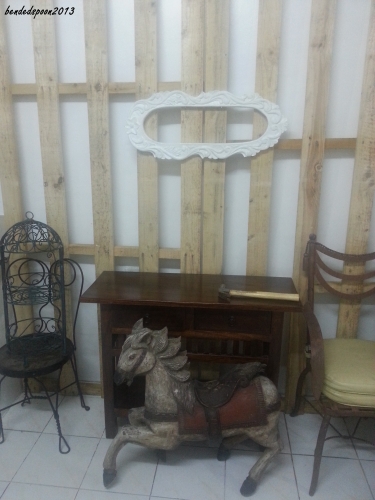
Fourth, add on other props lying around the home.
A frame, 2-tier holder, and a vintage carousel horse are good for me.
Hammer not included! I used it for the nails where I hanged the frame.
.
Fifth, make pompoms and hang them.
You will love the pallet for making it so easy to tie the pompoms.
But you have to decide beforehand how many pompoms you need — because making them can be addicting!
.
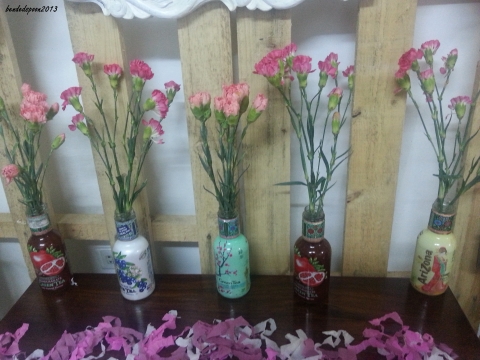
Sixth, add flowers.
No need to buy vases when you have empty beverage bottles.
Notice the trimmings? Those are pompoms scraps.
No need to throw them yet. Just scatter them on the table — because you are the boss!
.
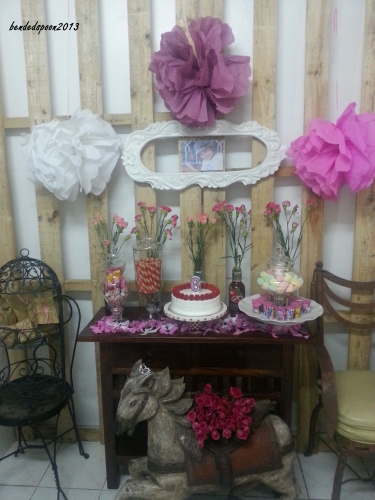
Seventh, add more flowers!
Horse charming got to offer some flowers to the Princess.
And look after her crown while still sleeping — shhh this is a surprise party that the Princess wanted us to prepare.

.
Eighth, don’t forget the sweets.
Because the pallet backdrop is for Sweets Corner!

.
Ninth, show off the pallet backdrop.
Be sure that it is in the back 🙂
.
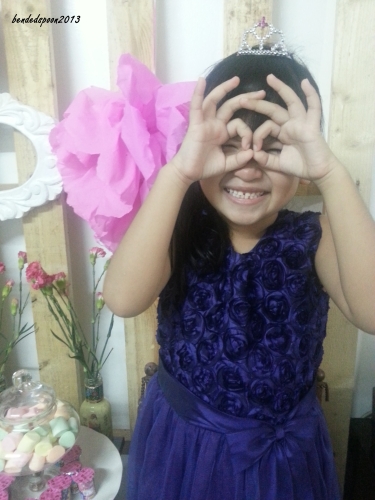
Tenth, add the sweetest.
Count the fingers — except those that form the binocular to see you.
The sweetest Princess turned six!
.
Now back to the pallet. I do not see its life ending yet.
As is, I have some more things to hang and change them as frequent as I like without worrying on nail holes.
I could paint it. Distressed it. Remove the paint. Paint it again. Whatever.
How about you, what would you do with it? Aside from throw it 🙂
.
Light in a messenger’s eyes brings joy to the heart, and good news gives health to the bones. – Proverbs 15:30
🙂


09/12/2013 at 12:07 AM
How extremely clever! I love it. And, the princess, well she makes it perfect. 🙂
11/03/2013 at 8:03 PM
I missed this — I miss you! Hugggs and blessings to you and your beautiful girls 🙂
09/11/2013 at 5:48 AM
This is fantastic. And it looks amazing. Very crafty!!
09/11/2013 at 8:46 AM
Thank you! One of the things that relaxes me is to go crafty and junky! Blessings to you 🙂
09/11/2013 at 3:48 AM
Happy Birthday wishes to your Pretty Princess!!! And lots of love and hugs to her ever re-creative momma, who can do all things through Christ who strengths her!! 😀
love and prayers!
09/11/2013 at 8:39 AM
Ha! Deb, nothing and no one can strengthen a momma like Christ can! Sure the sweet love around can do so much — thank God! It always go back to Him 🙂
09/10/2013 at 12:16 PM
That is so beautiful! You are so clever. 🙂
09/11/2013 at 8:32 AM
Theresa the kiddos are more clever. They still want to keep the set up but I think they’re more interested on refilling the sweets on the jar! Lol 🙂
09/10/2013 at 10:28 AM
Hi there sweety, happy birthday girl. Rea sis, you did a cute DIY theme. 🙂
09/11/2013 at 8:27 AM
Cel the preparation is so enjoyable!
You may do the same for your kiddo 🙂
09/17/2013 at 3:22 PM
🙂 I know..fun!
09/10/2013 at 1:55 AM
That is an amazing DIY project! Your daughter must have enjoyed it lots 🙂
Pallets can be used as something to stand on for showers outdoors, something my church used this past Labor Day Weekend camping. Keeps the feet clean!
09/10/2013 at 9:06 AM
I surrender Josh – that’s the easiest DIY ever! I’m happy to know one of your good works, again – the camping, I mean 🙂
Ha! My daughter totally loved it! Who won’t when she got more than she asked for! Well, she only asked us to surprise her 🙂
09/09/2013 at 8:26 PM
Fantastic Idea! So easy!
09/10/2013 at 9:01 AM
Up and prop, that easy!
Have a blessed day! 🙂